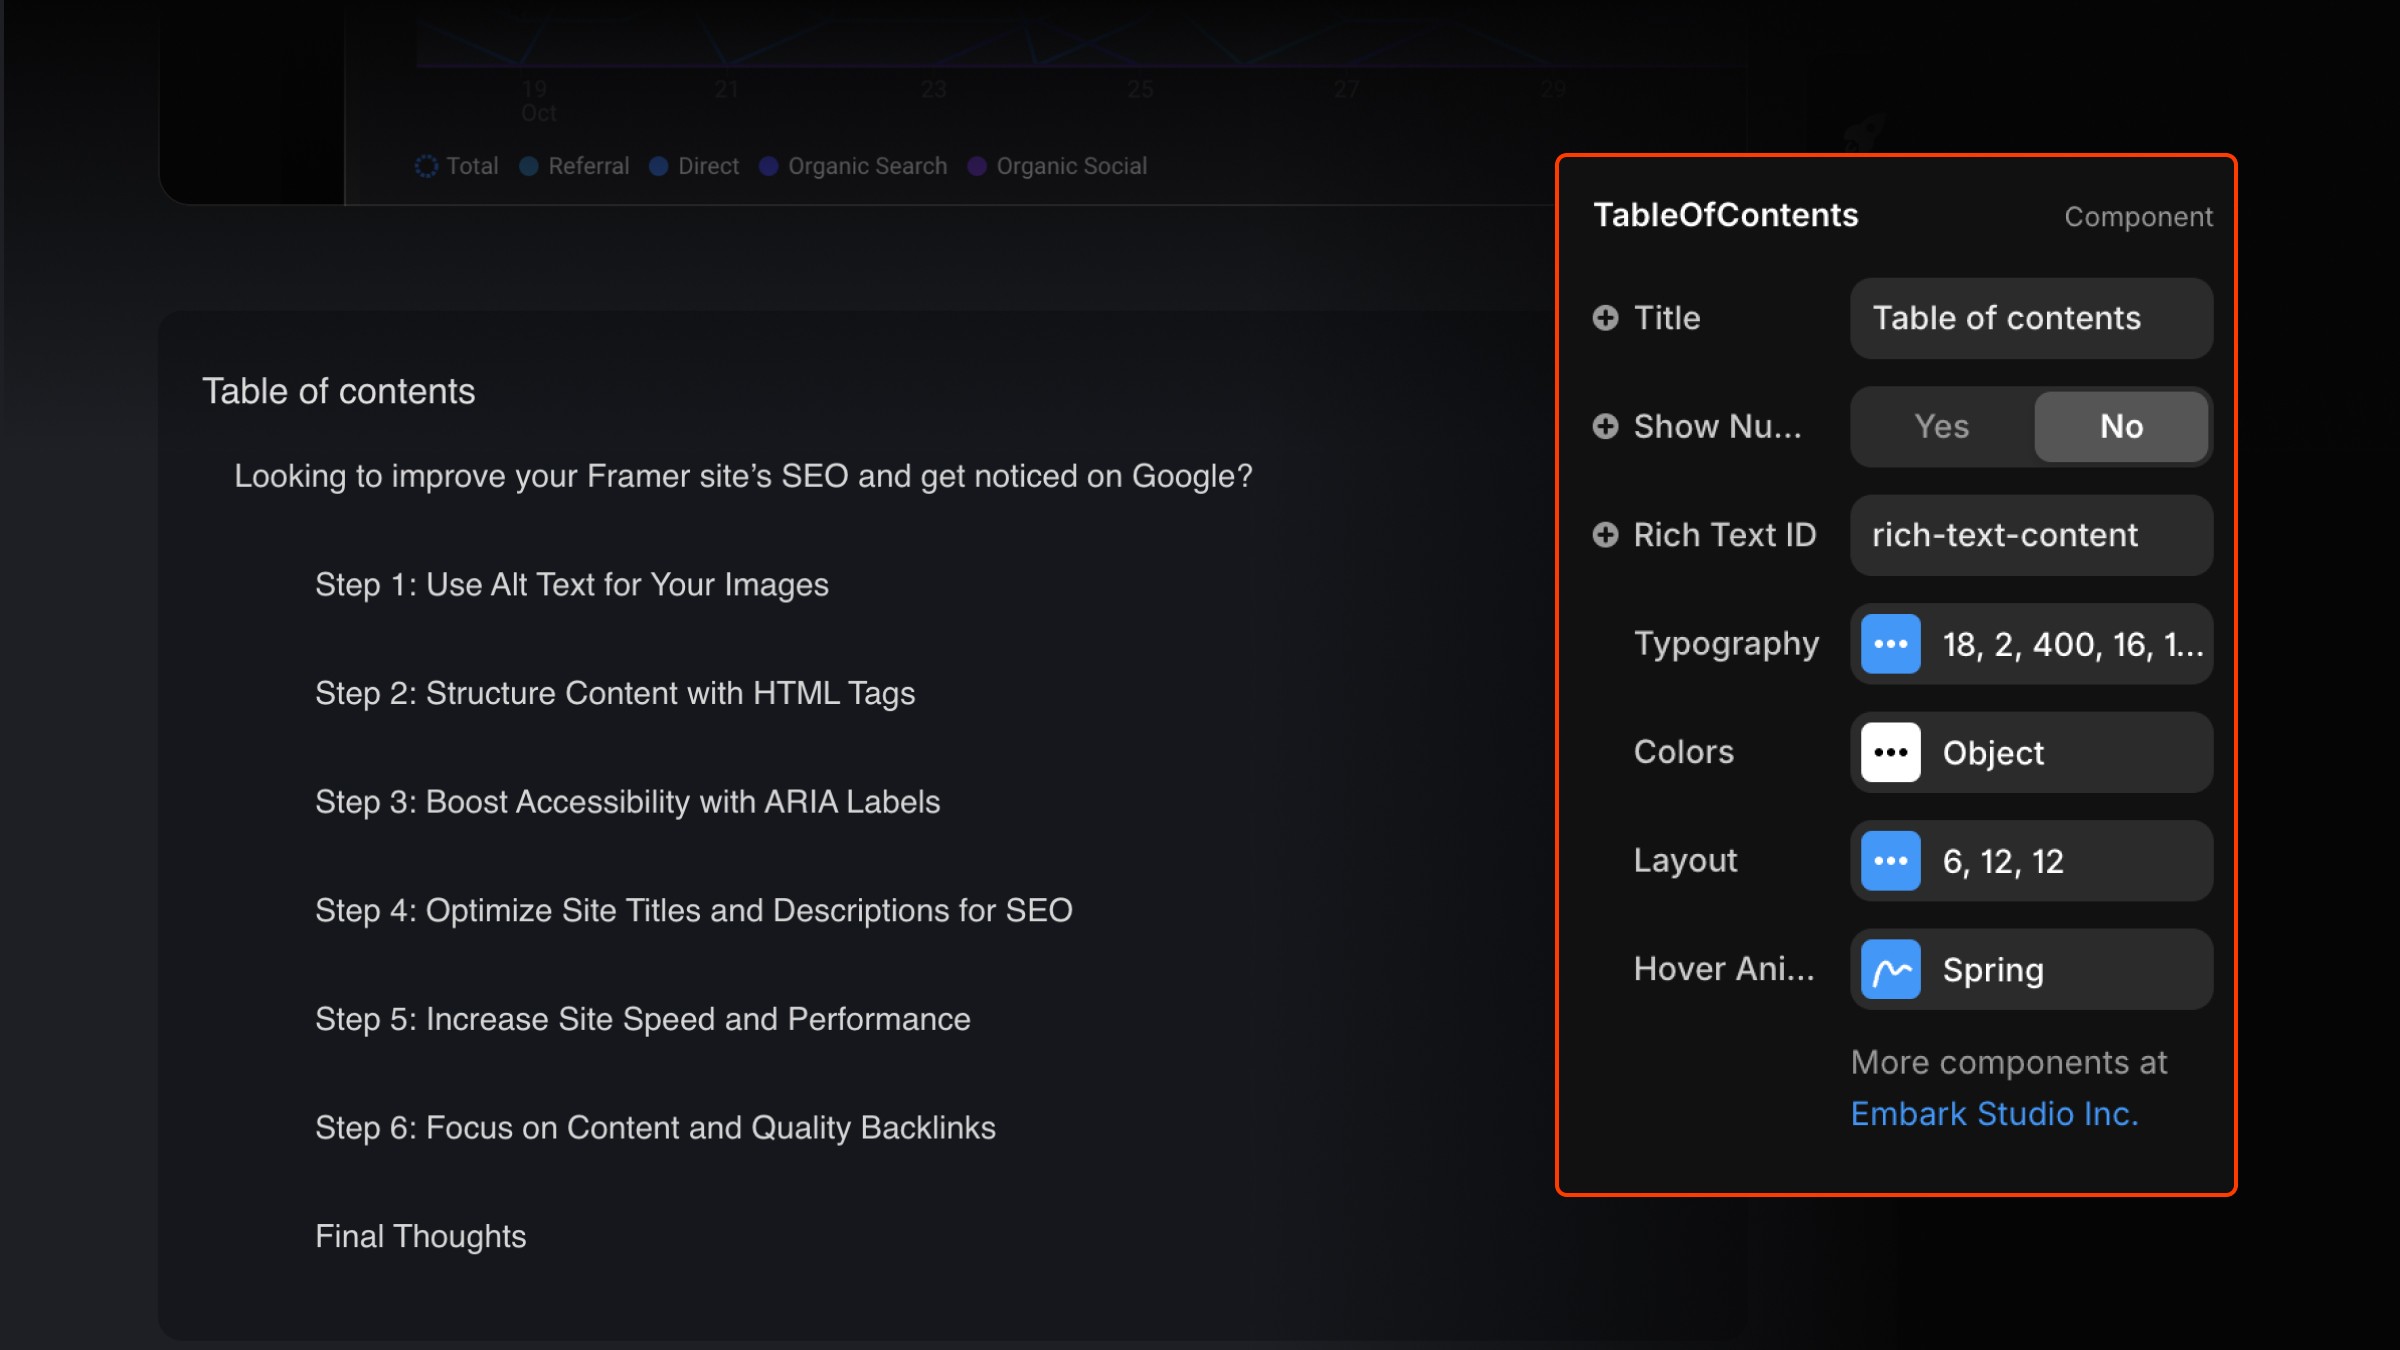
Framer Component
Blog Table Of Contents
How to Use the Blog - Table of Contents Component
Step 1: Copy the Component Visit the component library on our website. Click the "Copy Component" button to copy the Blog - Table of Contents component.
Step 2: Paste into Your Framer Project Open your Framer project and paste the component into the desired location on your canvas. This component will dynamically list the sections of your blog post as clickable links.
Step 3: Add Anchor Text in the Blog Content In your Rich Text blog content, add headings (such as H1, H2, etc.) where you want the Table of Contents to link. The component will automatically detect these headings and create a clickable structure linking to each section.
Step 4: Customize the Styling With the component selected, you can adjust the styling options in the properties panel to match your blog’s design. Customize font size, colors, and layout to achieve the look you want.
Additional Notes
Dynamic Updates: The component will automatically update if you add or remove headings in your Rich Text content.
Smooth Scrolling: When a reader clicks a heading in the table of contents, the page will scroll smoothly to that section, improving the user experience.
No Manual Setup Required: There’s no need to manually link headings; the component does all the work by scanning your content.
Responsive: This component adjusts well on different screen sizes. Place it in a responsive layout to ensure it adapts to both desktop and mobile views.
Hey, I'm James, Founder of Embark Studio and Digital Product Designer.
With over 15 years of experience, I've helped businesses transform their digital presence through stunning websites and smart, scalable design solutions.

